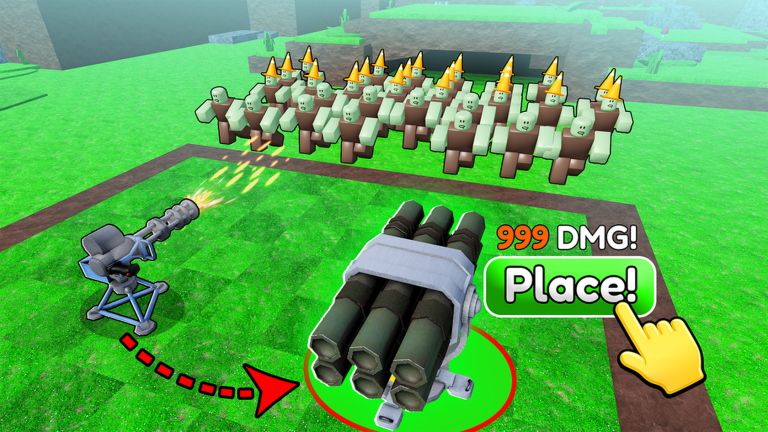
Build a Base RNG

Meta tier list

Build a Base RNG Defense Role Tier List

Ranked for the current meta using ability impact, progression value, and consistency across real player scenarios.

Current snapshot
6
Ranked picks on this page

Ranking criteria

Ability impact

How much each defense role changes gameplay and gives measurable advantages.

Stat value

The quality of bonuses like damage, uptime, control, or survivability.

Versatility

How well the defense role performs across leveling, farming, PvE, or PvP.

Side-by-side decision

Compare two defense role options

Select up to two options. Facts, task fit, strengths, and tradeoffs remain visible beside the editorial tier.

Layered Coverage

S Tier

Core

Front, middle, and cleanup pressure keeps more of the lane useful.

Best for: all bases, boss baselines, offline stability

Strengths: covers multiple failure points, works with different rolls

Tradeoffs: requires controlled placement tests

Protected Ranged Damage

S Tier

Core

Weapons such as mortars or Teslas contribute while blocks or traps absorb pressure.

Best for: wave clearing, boss pressure

Strengths: extends useful damage time, pairs with front delay

Tradeoffs: fails if range or lane coverage is ignored

S Tier

Meta-defining picks with the strongest overall value.

#1

Layered Coverage

Core

Front, middle, and cleanup pressure keeps more of the lane useful.

KeepBest for all basesBest for boss baselinesBest for offline stability
Why S tier
Repeated direct gameplay evidence shows layered roles survive more consistently than one crowded point.
#2

Protected Ranged Damage

Core

Weapons such as mortars or Teslas contribute while blocks or traps absorb pressure.

KeepBest for wave clearingBest for boss pressure
Why S tier
Multiple reviewed videos place ranged damage behind or around delaying roles.
A Tier

Very strong choices that fit most players and scenarios.

#1

Front Delay and Trap Pressure

Foundation

Blocks and traps establish first contact and protect the damage layer.

KeepBest for beginnersBest for opening waves
Why A tier
It is essential support, but it needs middle and cleanup coverage.
#2

Middle Recovery Layer

Structure

A second contributing layer catches survivors from the opening.

KeepBest for higher wavesBest for inconsistent openings
Why A tier
A repeated second layer is a consistent recommendation across layout videos.
#3

Cleanup Coverage

Safety

Final pressure before the core protects against leaks and boss survivors.

KeepBest for boss testsBest for offline layouts
Why A tier
It is valuable when enemies pass the main group but should not replace opening coverage.
C Tier

Playable, but usually outclassed by better options.

#1

Rarity-Only Stacking

Risk

Choosing objects only by rarity without testing their lane role.

Consider rerollingBest for collection display
Why C tier
A rare-looking object still fails if it cannot contribute to the current lane.

Defense Role Tier List strategy

How to use this page

Use this defense role tier list as a decision aid, not a rigid rule. Your best pick depends on solo play, team needs, and how stable your current progression feels.

Decision support

Check your active codes and current progression bottleneck first, then pick the defense role that solves that problem instead of blindly chasing hype.

InfoContent Information

Research owner:RobloxCalc Team
Reviewed by:RobloxCalc Research Team
Evidence level:Evidence-bounded review
Evidence checked:2026-07-23
Content edited:Not separately recorded
Verified for:Build a Base RNG Tier List

Quality Assurance: Content is reviewed against available official sources and current community evidence. Claims that cannot be independently confirmed are labelled accordingly.

Review the evidence and correction methodology

This is an unofficial fan-made guide. We are not affiliated with Roblox Corporation or the game developers. All game names, logos, and properties are trademarks of their respective owners.