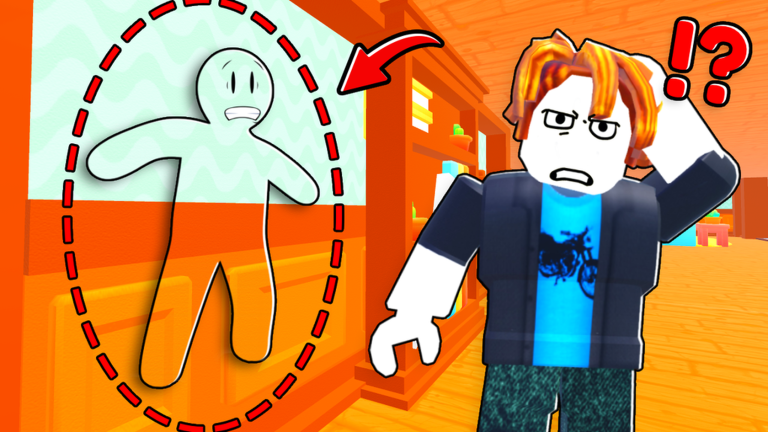
Chameleon

Secondary power system

Chameleon Maps & Hide Spots

Use this page to compare the tracked maps & hide spots by role, then pair them with the right style instead of forcing highlight-only picks into every lineup.

Tracked maps & hide spots
3
Current pairing notes on this page
Zone value is more context-sensitive than raw style rankings. A lower-hype zone can still be the better choice if it stabilizes your matchup, covers stamina pressure, or fits your preferred scoring lane.

Walls and corners

Floor edges

Object clusters

InfoContent Information

Research owner:RobloxCalc Team
Reviewed by:RobloxCalc Research Team
Evidence level:Evidence-bounded review
Evidence checked:Verification date unavailable
Content edited:Not separately recorded
Verified for:Chameleon Live

Quality Assurance: Content is reviewed against available official sources and current community evidence. Claims that cannot be independently confirmed are labelled accordingly.

Review the evidence and correction methodology

This is an unofficial fan-made guide. We are not affiliated with Roblox Corporation or the game developers. All game names, logos, and properties are trademarks of their respective owners.