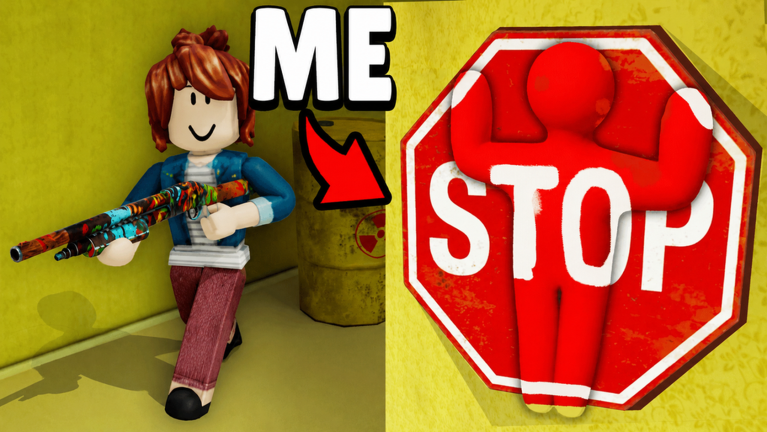
Zone value is more context-sensitive than raw style rankings. A lower-hype zone can still be the better choice if it stabilizes your matchup, covers stamina pressure, or fits your preferred scoring lane.
Hider camouflage
Broad Wall Panels
Large single-color walls are the easiest places to make the paint mechanic work, especially for new players learning surface matching.
Strengths
Clear color matchBeginner friendlyLow movement requirement
Pairing tips
- Use with Perfect Wall Match from the tier list.
- Have a backup wall nearby in case the first lane is swept early.
Tradeoffs
- Popular wall panels become predictable once Seekers learn the map.
- A wrong shade stands out quickly on a flat surface.
Outline control
Floor Transitions
Edges between floor colors, carpets, and object bases can break the body outline when Seekers scan from normal height.
Strengths
Breaks silhouetteLess obvious than wall hidingGood late-round value
Pairing tips
- Use Floor Edge Blend when the room has multiple color bands.
- Do not crawl across open floor after the Seeker phase starts.
Tradeoffs
- Weak if Seekers look low or sweep slowly.
- Needs better camera-angle awareness.
Partial cover
Object Clusters
Props and clutter can hide parts of the character model, making a decent paint match more forgiving.
Strengths
Partial coverShadow valueGood for backup rotations
Pairing tips
- Use object clusters after another Hider draws Seeker attention.
- Avoid standing in front of a prop if your paint color belongs behind it.
Tradeoffs
- Seekers often check obvious prop piles.
- A single isolated prop can make you easier to identify.
Post-sweep hold
Corner Lanes
Corners work best after Seekers pass once and assume the room has already been cleared.
Strengths
Good timing valueSimple backup spotWorks with wall colors
Pairing tips
- Move into corner lanes only after pressure leaves.
- Pair with Corner Freeze rather than constant peeking.
Tradeoffs
- Predictable if used before the first sweep.
- Bad corners expose the full body outline.
Seeker chase lane
Open Center Areas
Open areas are better for Seekers than Hiders because movement and color mismatch are easy to see.
Strengths
Good Seeker visibilityFast chase routesEasy callouts
Pairing tips
- Use open centers as Seeker sweep lanes.
- As a Hider, cross them only when the timer or pressure forces a rotation.
Tradeoffs
- Very poor Hider safety.
- Any movement exposes you to multiple camera angles.
Opening sweep
Spawn And Exit Routes
Seekers should clear fast exits early because panic movement often starts there after the hiding phase.
Strengths
Early catch potentialGood team split pointCounters nervous Hiders
Pairing tips
- Send one Seeker through exits while another clears walls and corners.
- Caught players should fill unswept lanes instead of stacking on the same chase.
Tradeoffs
- Overcommitting here lets patient Hiders survive deeper in the map.
- Multiple Seekers can waste time checking the same exit.
Related Content
Jump into the next part of this game hub without going back to the main menu.